


Audacity is one of the best free software out there for customizing audio recordings. You can use it for direct recording as well as any kind of imported audio.
For a couple of days, I searched around the internet for some sort of efficient process for customizing audio clips. I wasn't looking for any kind of advanced improvements, but I wanted some simple ways to make my audio subtle, free from additional noise, and so on.
After searching a lot, I found a great video by Anthony Godinho. He published the video in 2017, and as time has passed, Audacity has also implemented some new features. They have also changed some of the settings, too.
This means that there are some changes between the current version of Audacity and the version Anthony used in his video. After thinking about it for a while, I thought, why not write an article including all the guidelines step by step?
So this article is all about how you can improve your audio quality by using some simple steps. This process can help everyone from basic hobby users to those who need to publish a lot of video/audio content frequently but don't have the time or money to edit each of the audio clips individually.
Download and Install Audacity
First of all, you need to download Audacity from its official website. If you are using Linux, then you might already have Audacity in your software repository. If not, then you can simply install it using the CLI way.
You can find the process easily by searching on the internet with your distro name, like:
Install Audacity in Ubuntu / Mint / Fedora / Arch / Manjaro / Gentoo
Now you should have Audacity installed on your computer. Let's get into the rabbit hole and you'll see how amazing this open-source software can be.
For today's article, I will be using Windows 11, but the same process is applicable for any kind of operating system and the latest version of Audacity.
How to Improve Sound Quality in Audacity
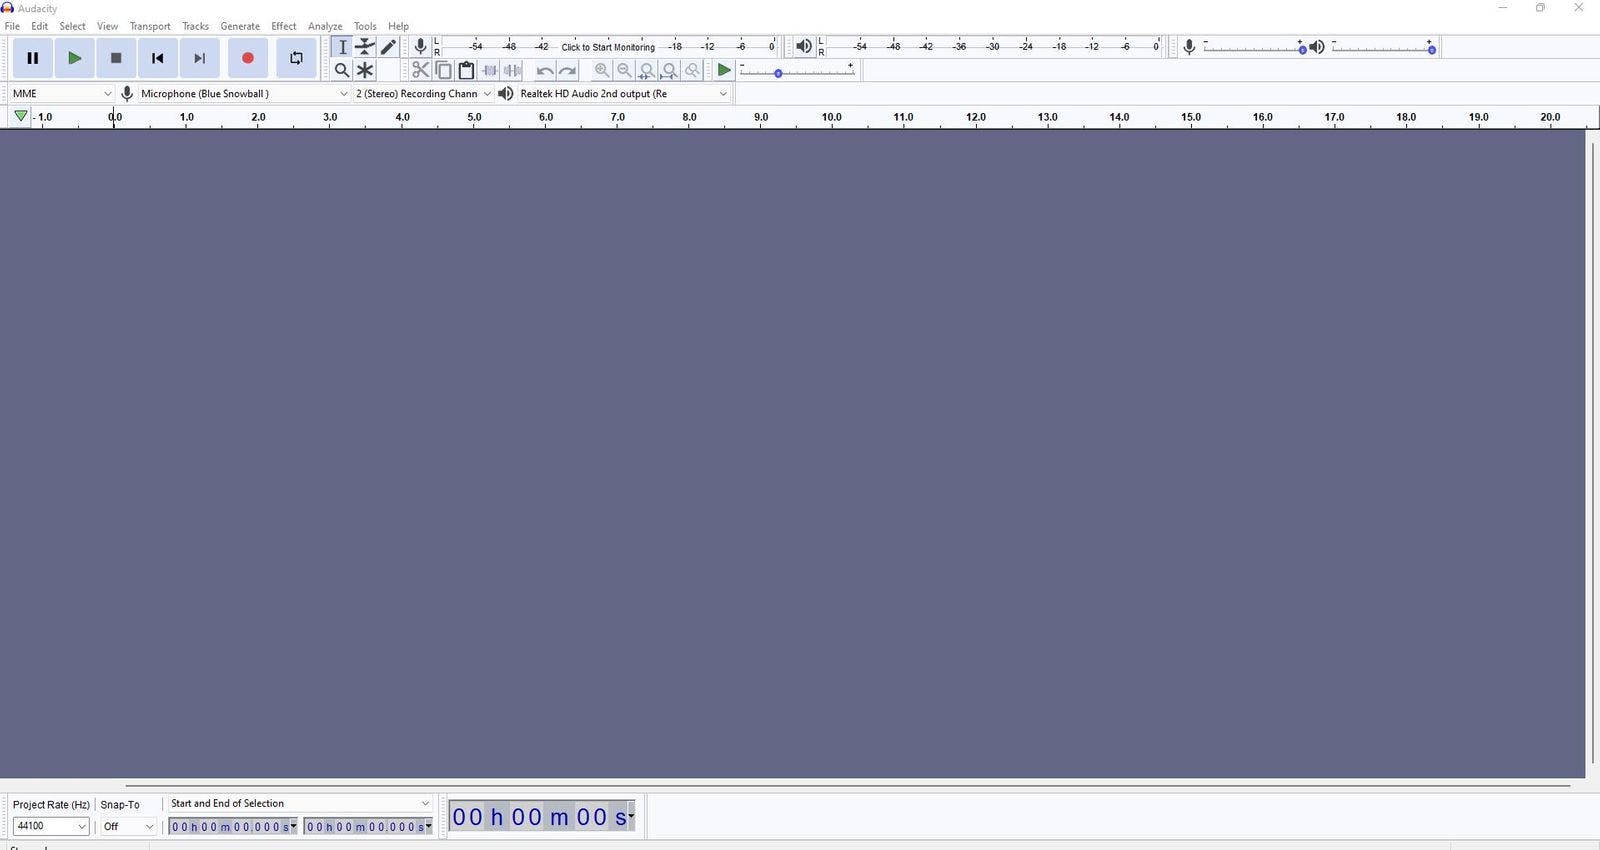
Open Audacity. You will get an interface like the below:
You can record directly within Audacity. For that, you need to simply press the RED button after checking whether you've selected the correct audio input device or not.
As most users prefer to tweak the audio file itself, I am going to show you how you can do that with any type of audio file by importing that file.
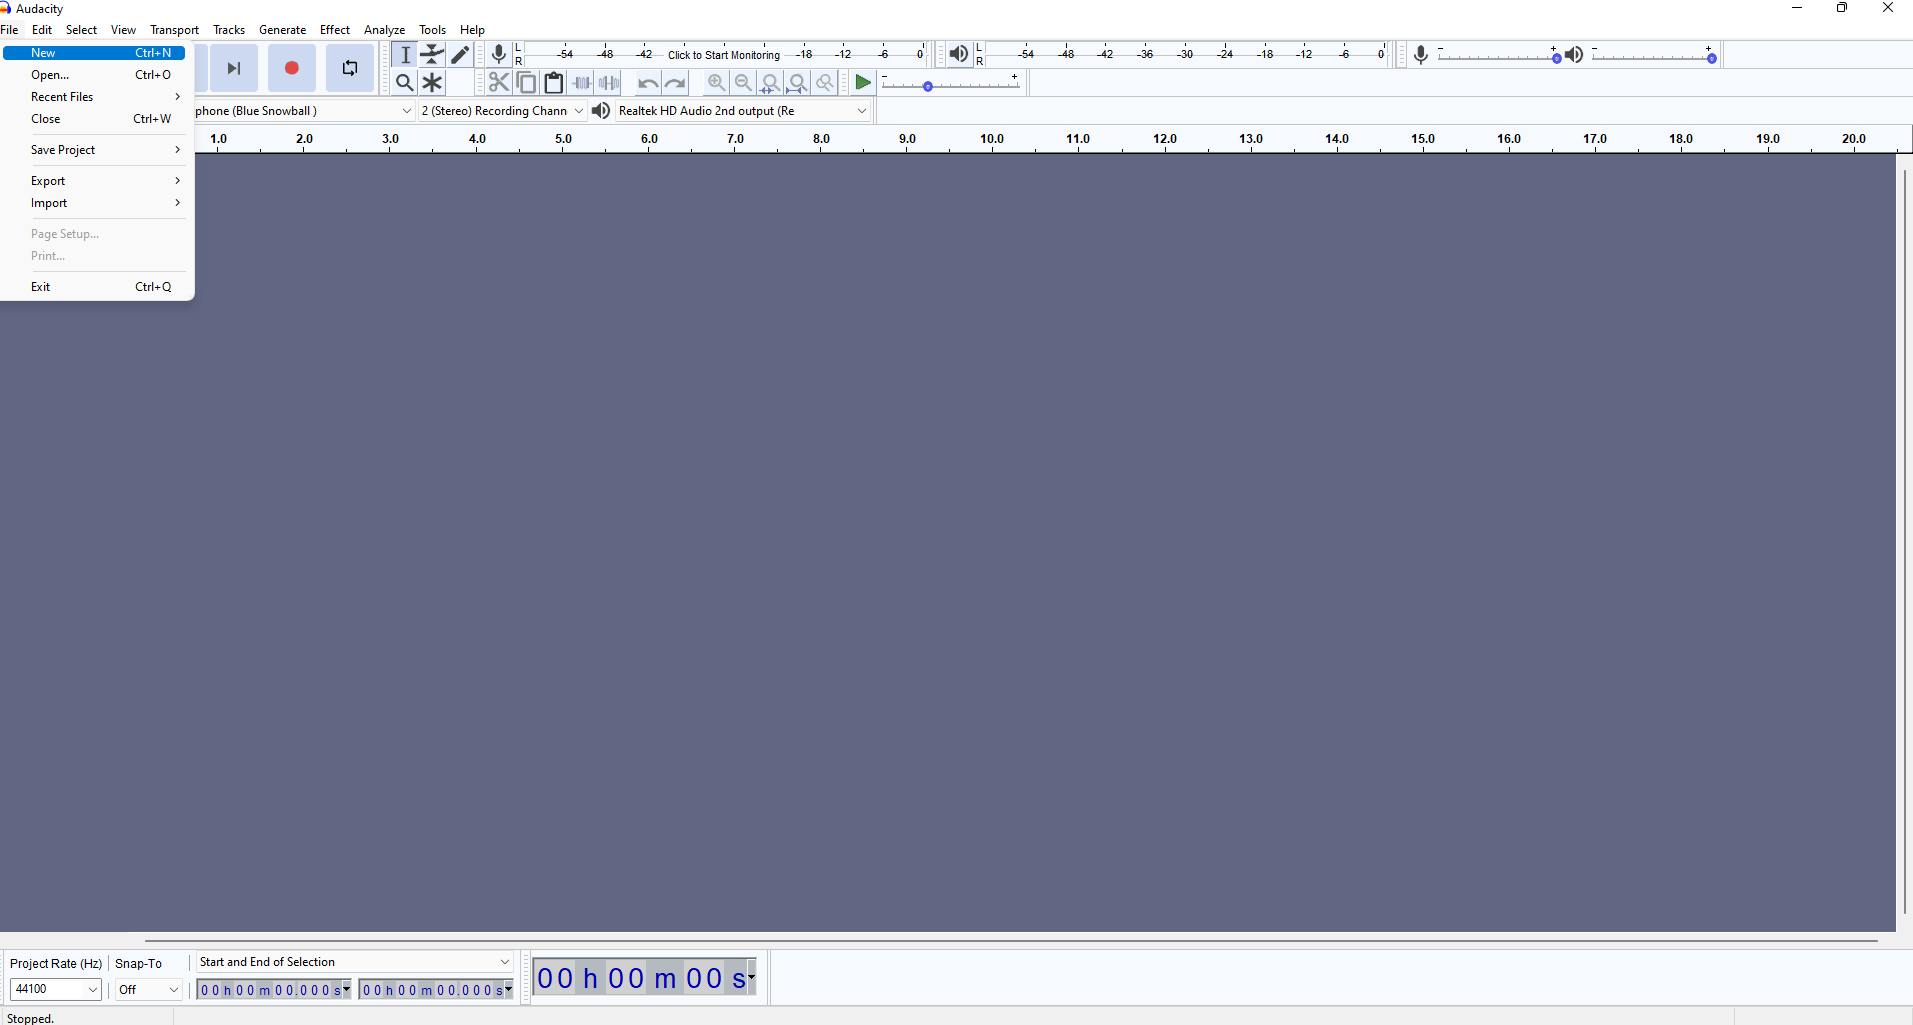
Click on File.
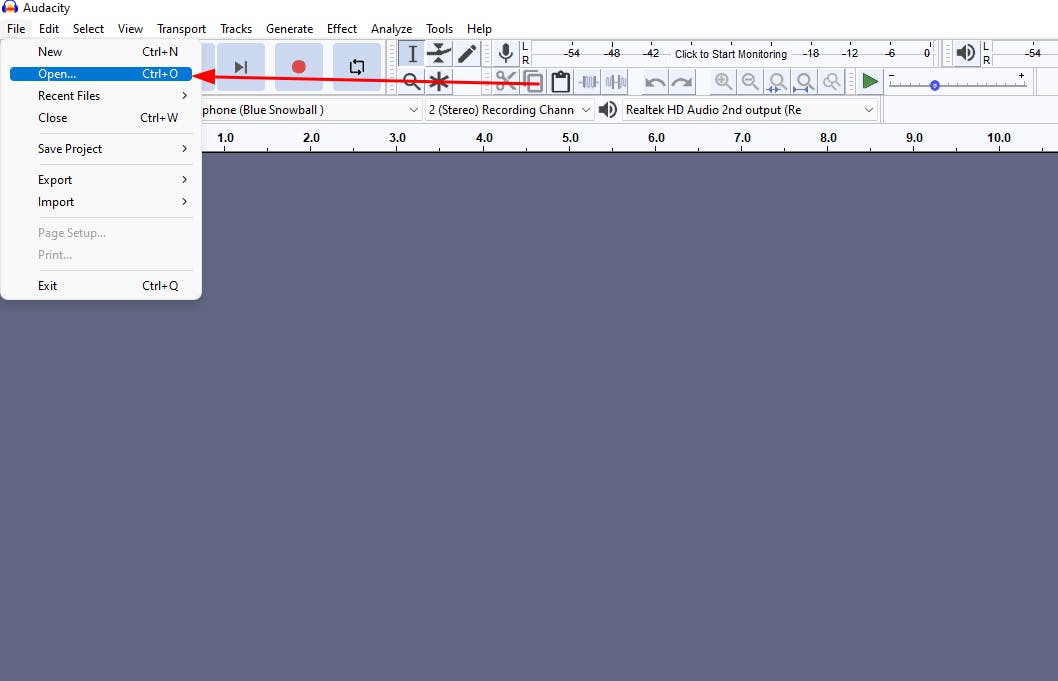
If you want to open any previously created audio file/project file, then you need to click on Open....
If you want to import any audio file, then click on Import.

Then select whether you want to import any Audio/Labels/MIDI/Raw Data, and click on that. For now, I will import an audio file.
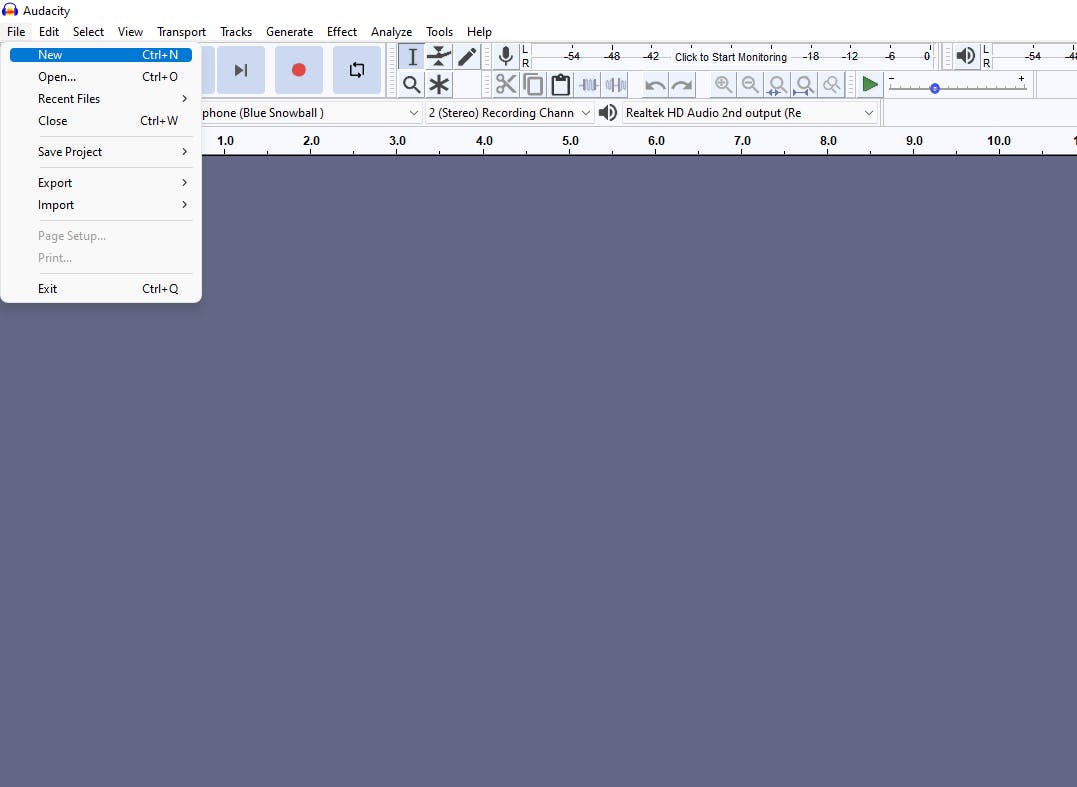
Of course, if you want to create a new project, then you can simply click on New.
One more thing – if you do not want to go through this type of hassle, then you can simply use the drag-and-drop feature of Audacity as well.
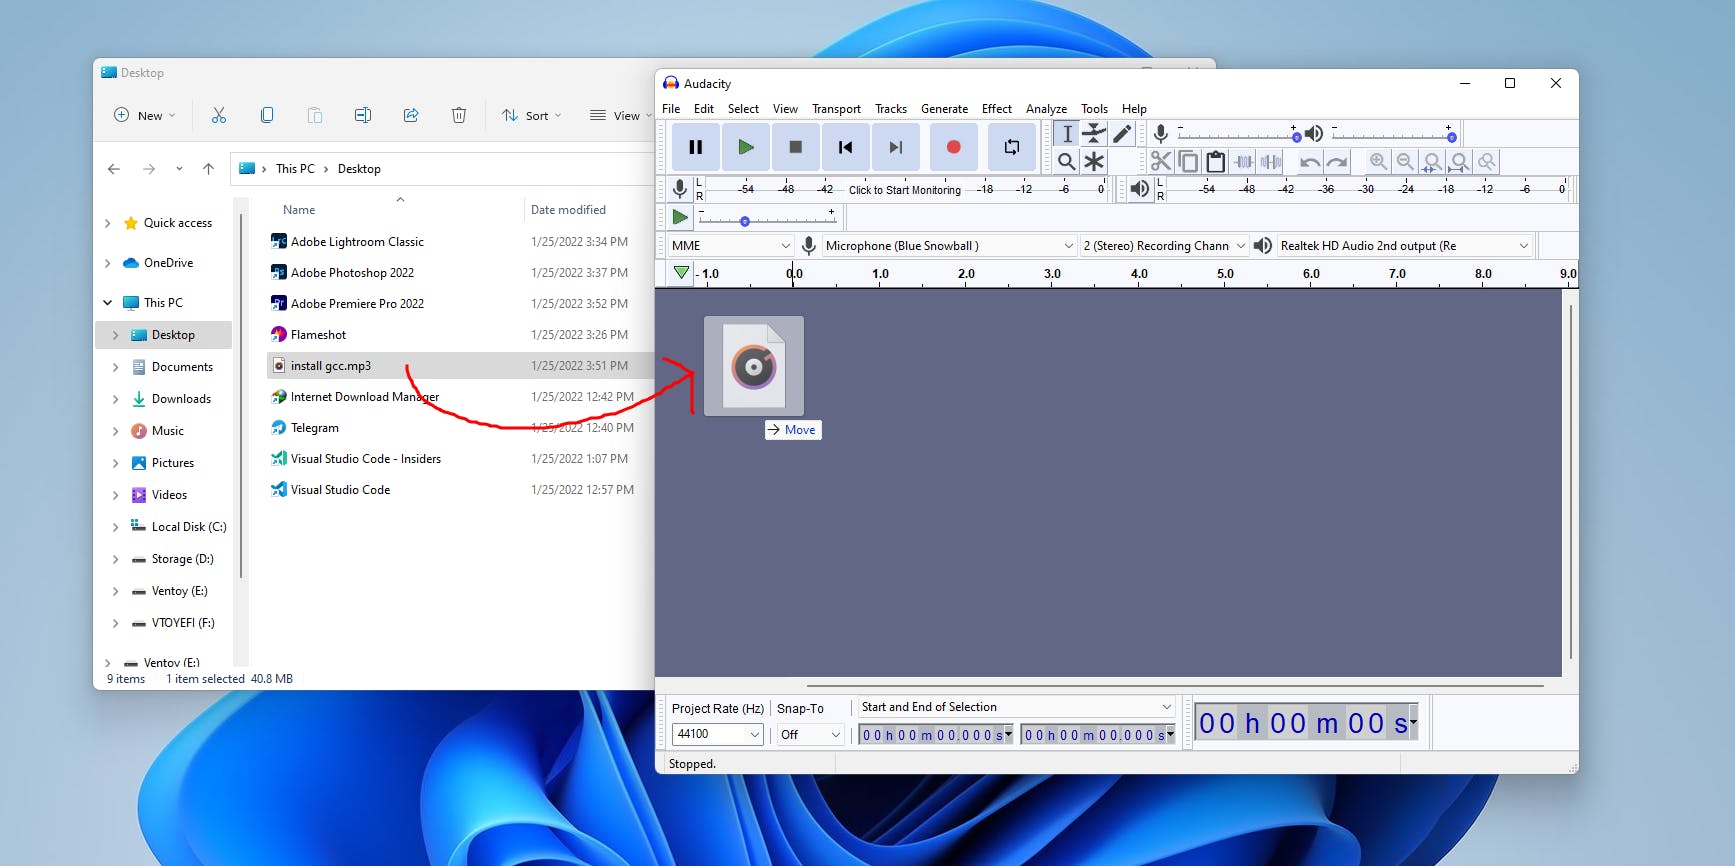
After dropping the file, Audacity will import that file into its project panel.

You can Zoom in or Zoom out on any audio clip. This is a much-needed feature for working on a large audio clip as you might need to check the noise level and amplification for some particular areas.
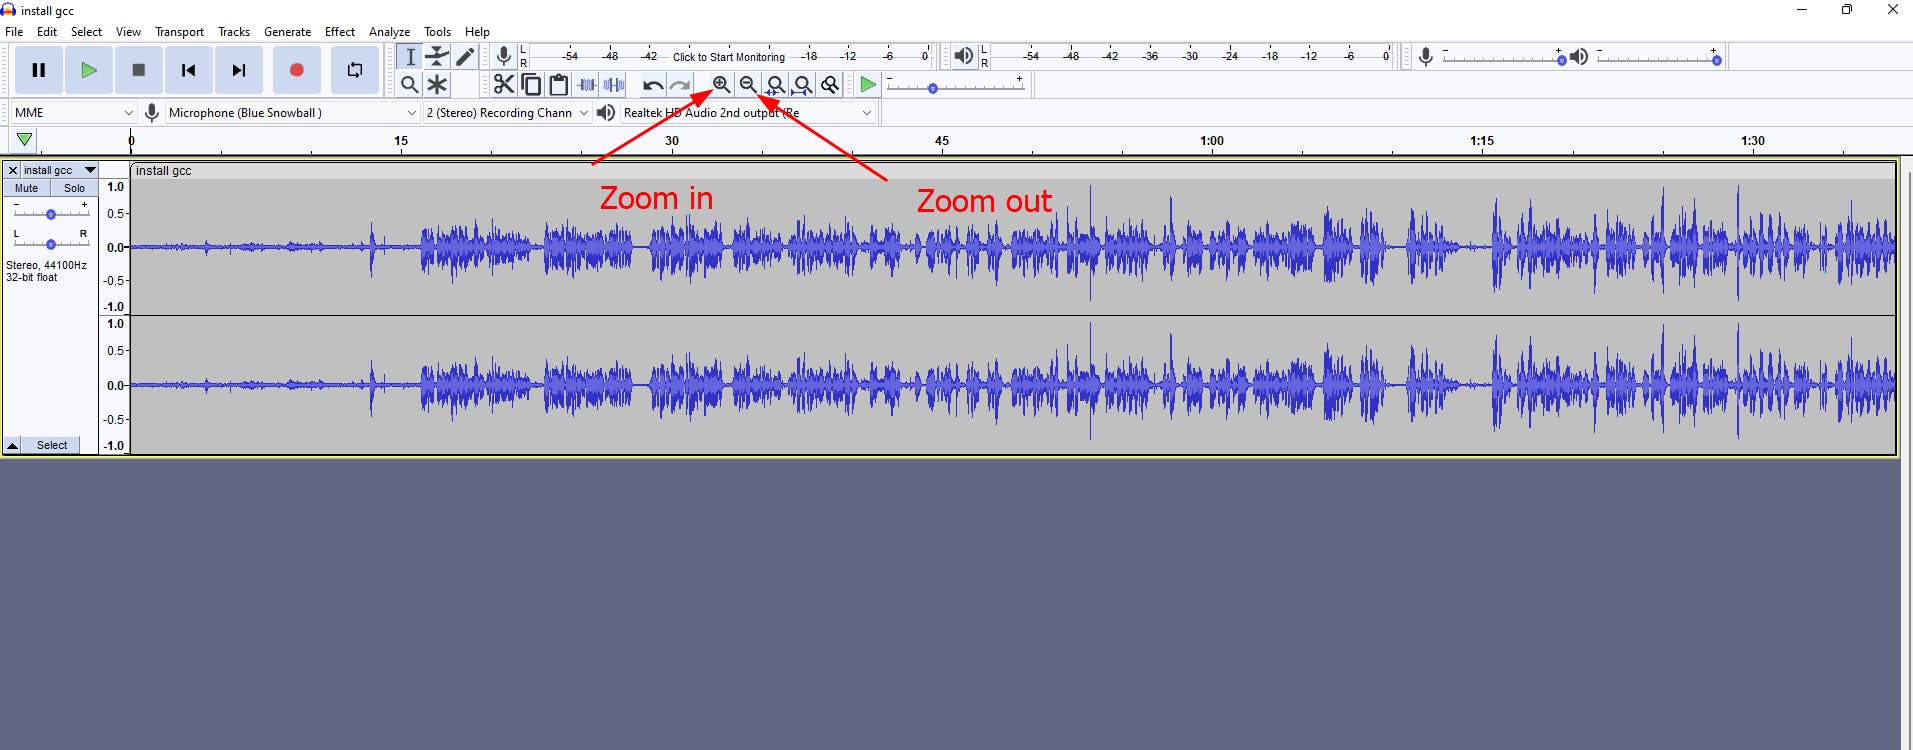
I want to find out where the noisy areas are in my clip. By using the Zoom in or Zoom out feature, you can identify the noisy areas in your clip easily.
One trick for identifying the noisy parts is that, while recording audio, you can simply stay silent for some time in the beginning. This captures the noise only, so you can easily identify the pure noisy area in your recorded raw (not edited) audio clip.
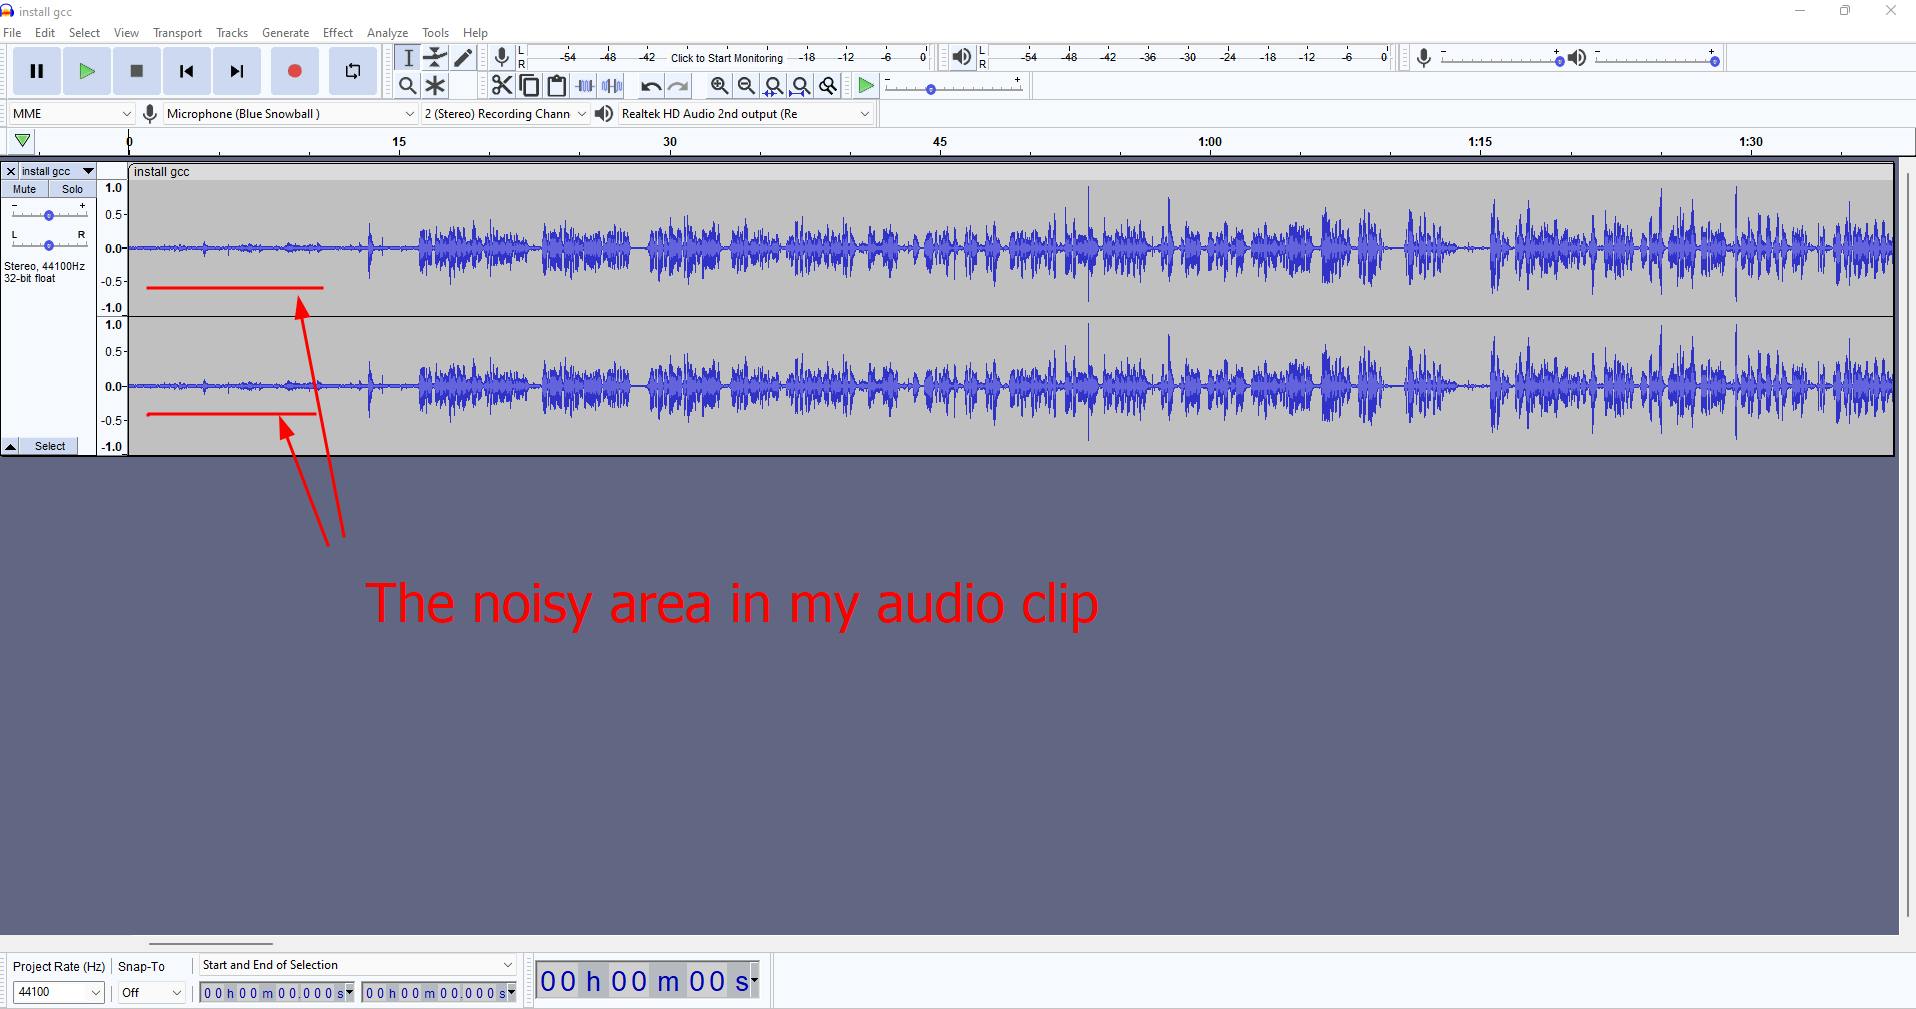
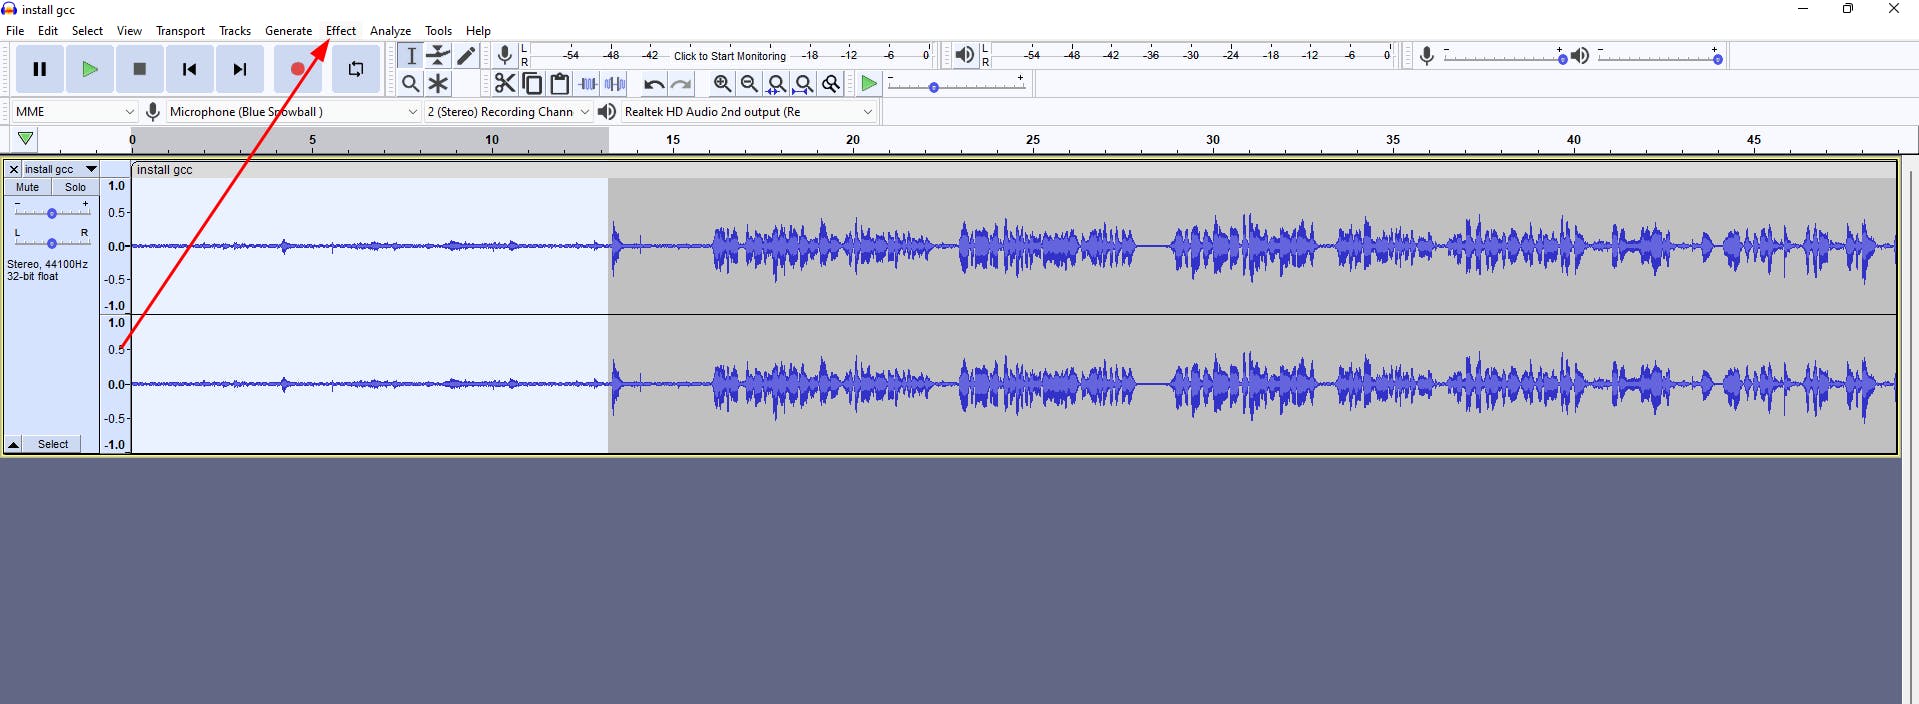
After finding the noisy areas, I need to select them. You can select the area by simply dragging the cursor from the beginning of the desired area to the end of the desired area or vice versa.

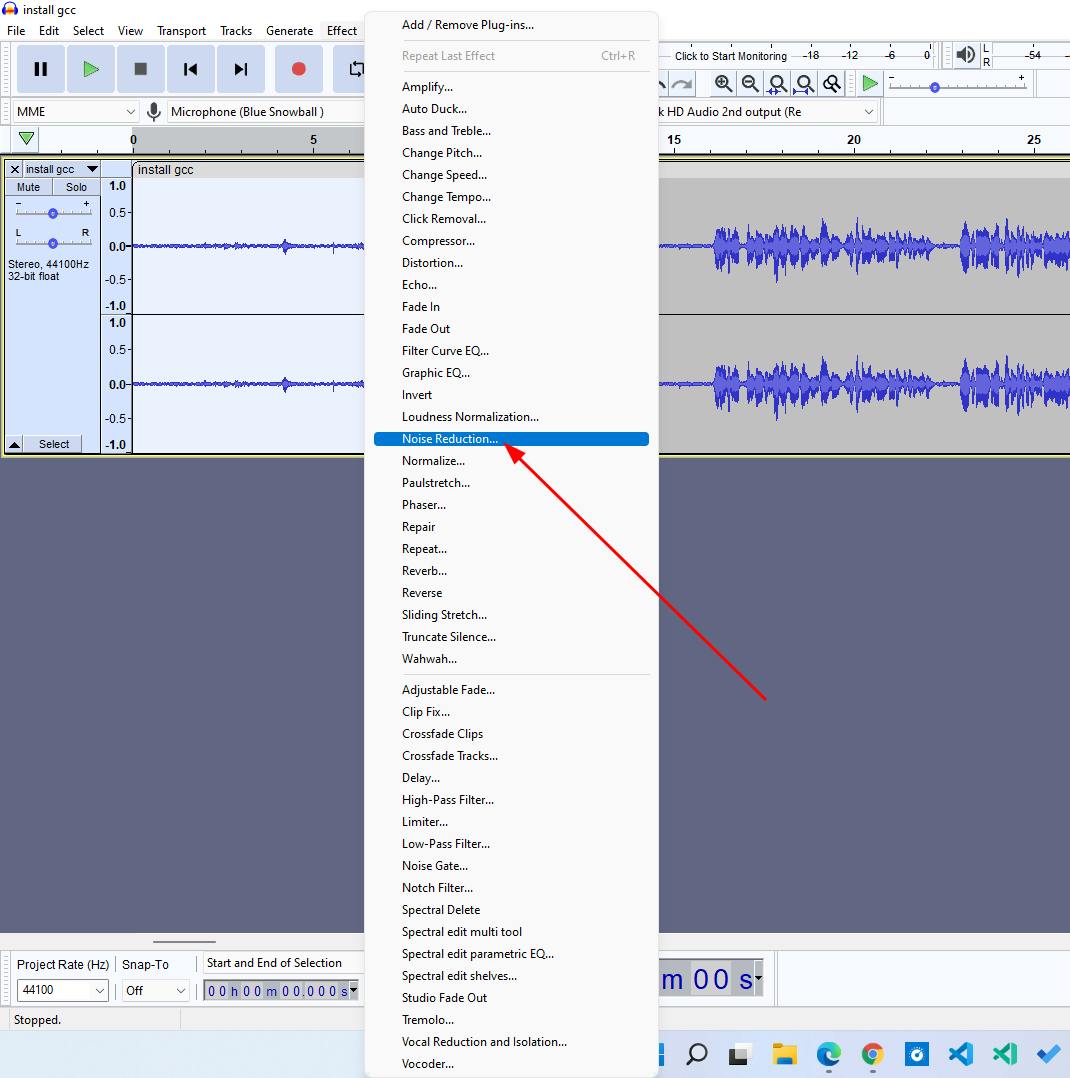
After selecting the noisy area, I will go to Effect.
After clicking on Effect, I need to click on Noise Reduction.
Click on Get Noise Profile. As we already know which area is noisy, we will collect the noise profile from here so that we can detect the same noisy area in the rest of the clips and apply the same noise reduction effect to them also.
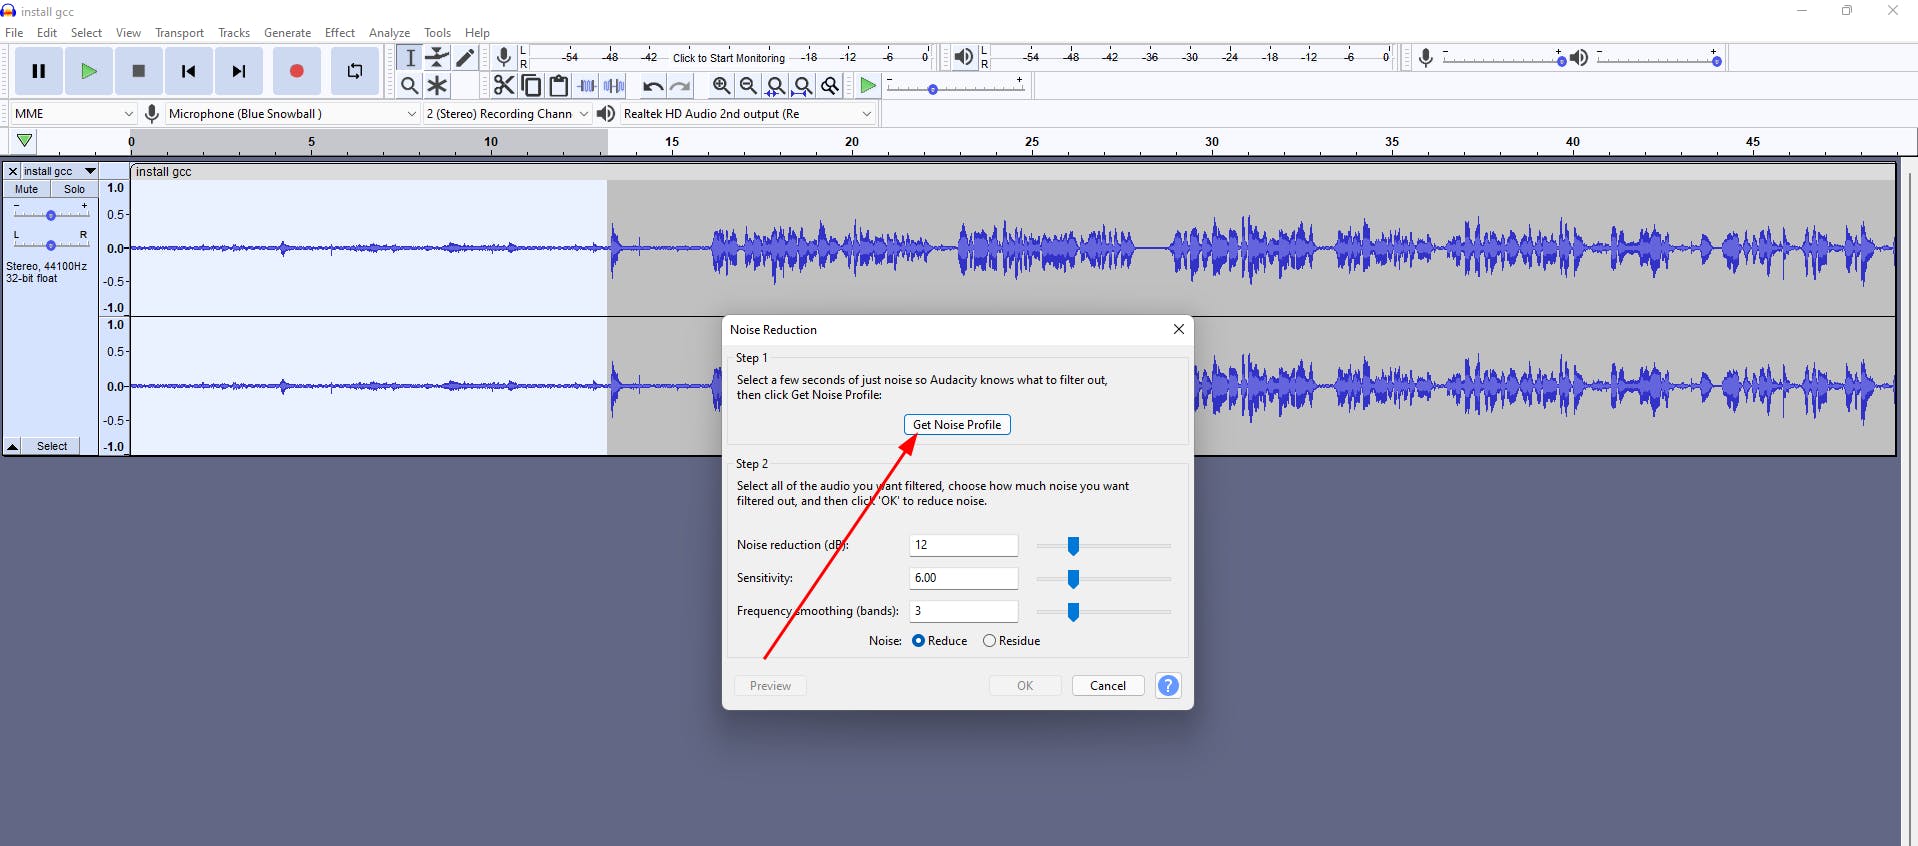
After getting the noise profile, we will apply the same effect we are going to use in the selected noisy area. For that, we need to select the entire clip. To do that, we can simply use the shortcut keys, Ctrl + A for Windows / Linux and ⌘ + A for Mac.

Go to Effect and click on Noise Reduction.

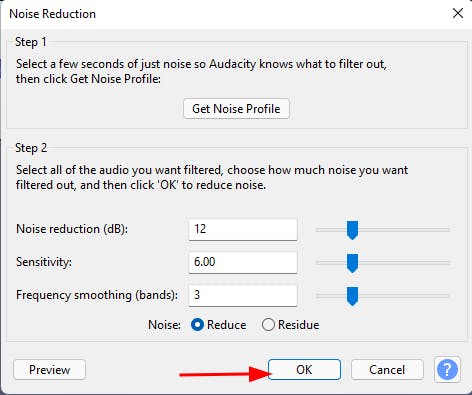
You can keep the value as it was by default. Most of the time, it provides a decent result, but if you want you can change the value as well. Then click on OK.
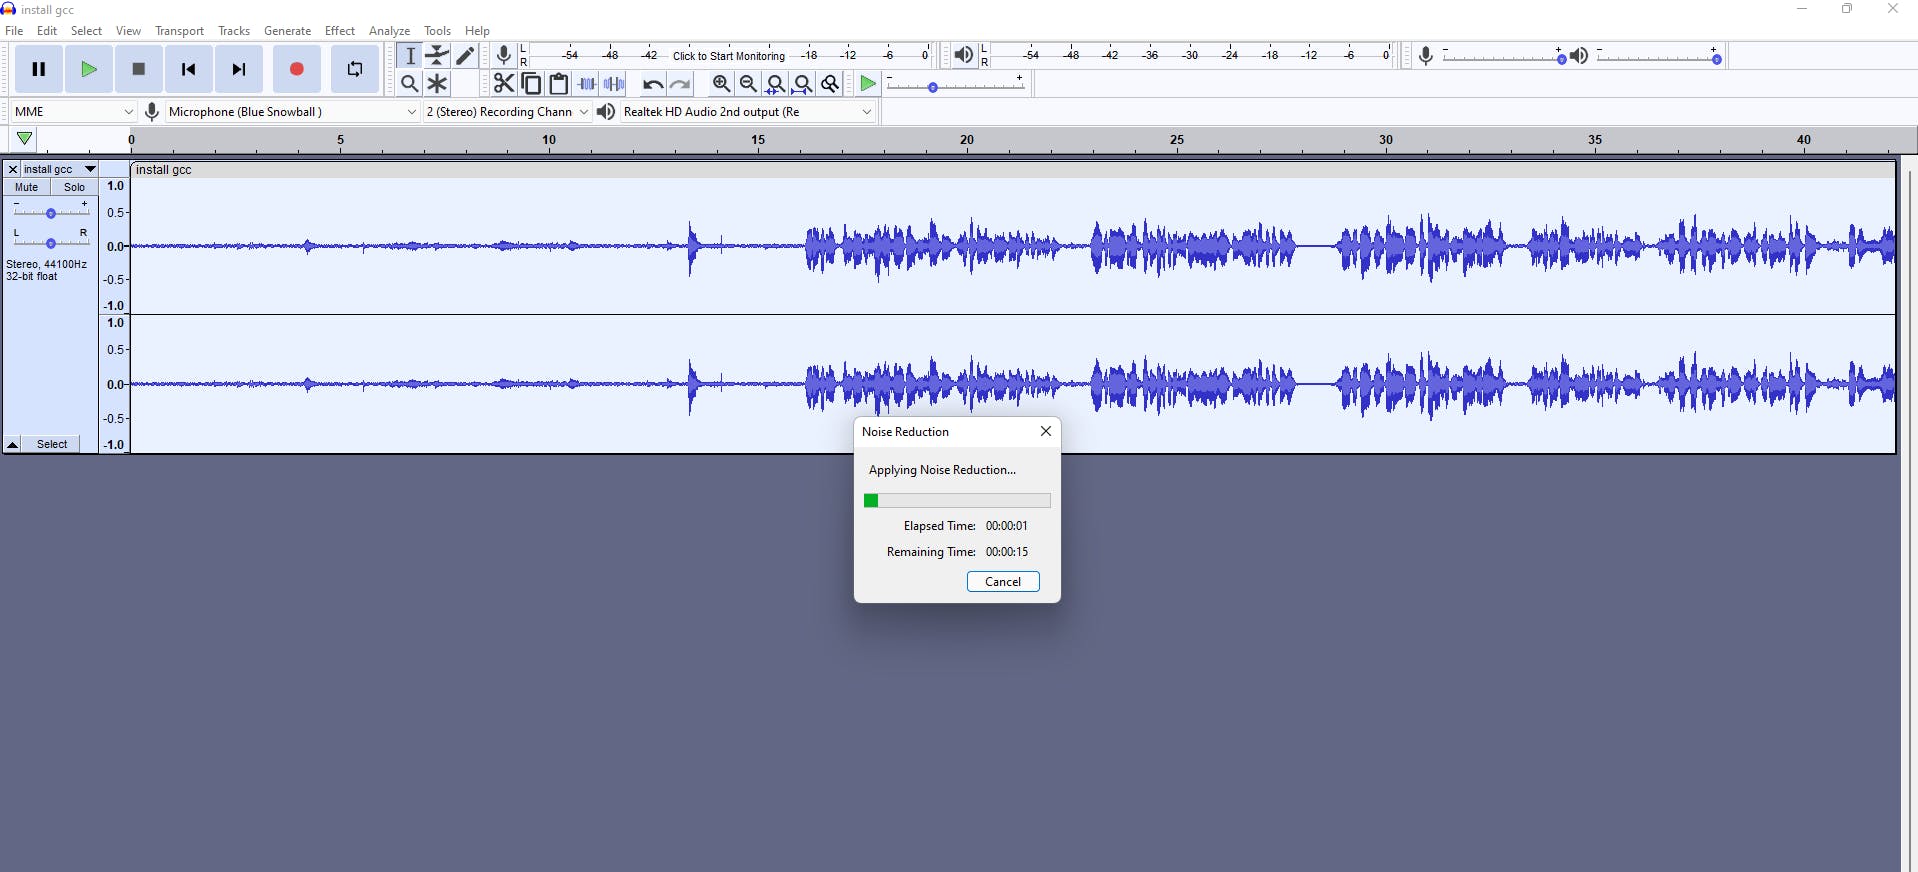
It will apply the effect throughout the entire audio clip.
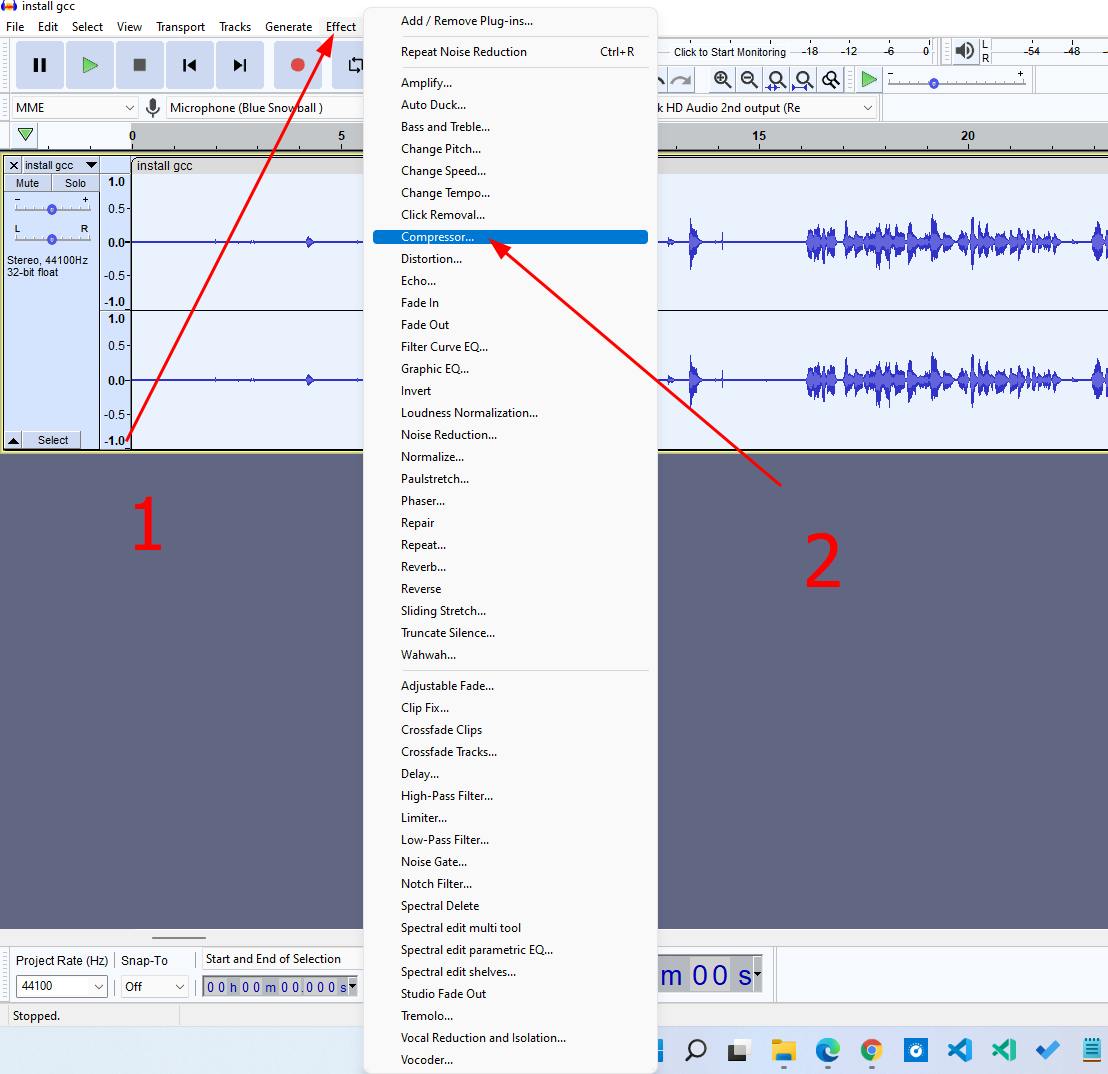
Next, I will implement the Compressor. Go to Effect, and then go to Compressor.
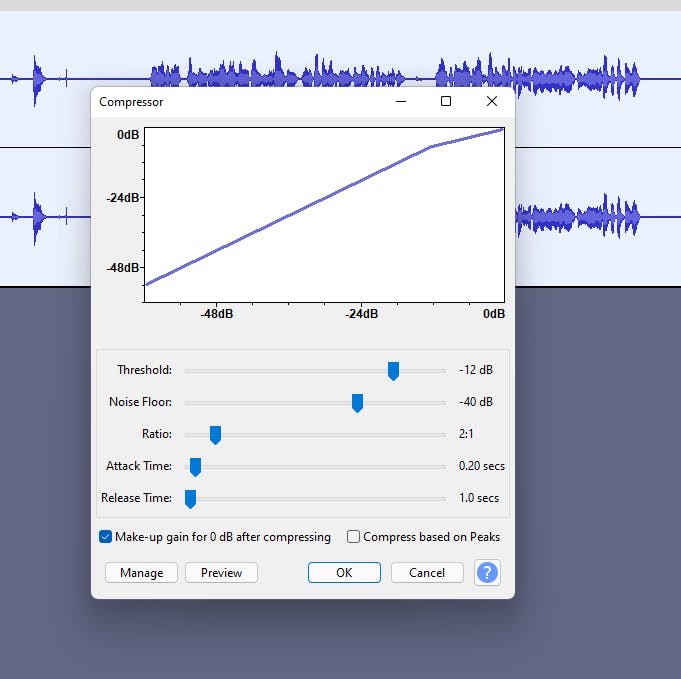
The default profile is good enough for us. If you want, you can change the value as you wish.
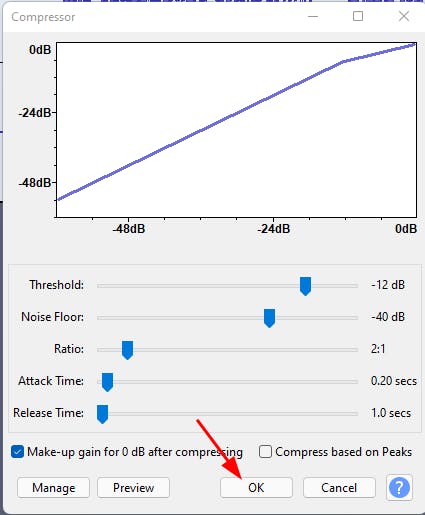
You need to click on OK to apply them.
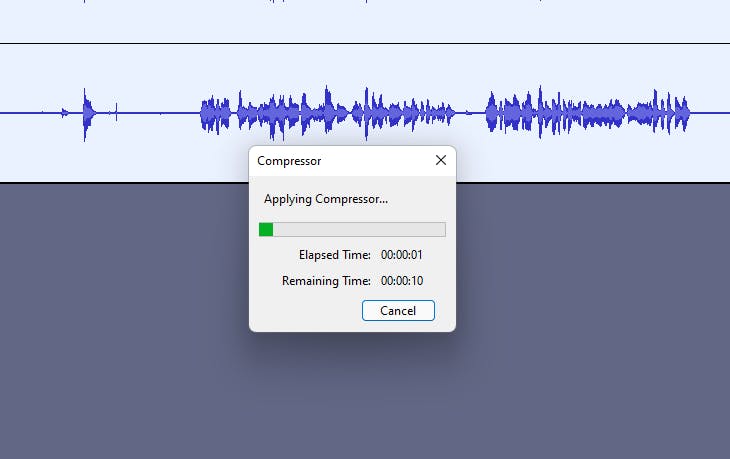
It will apply the compressor.
Next, we will use the Normalize effect. Go to Effect, and click on Normalize.
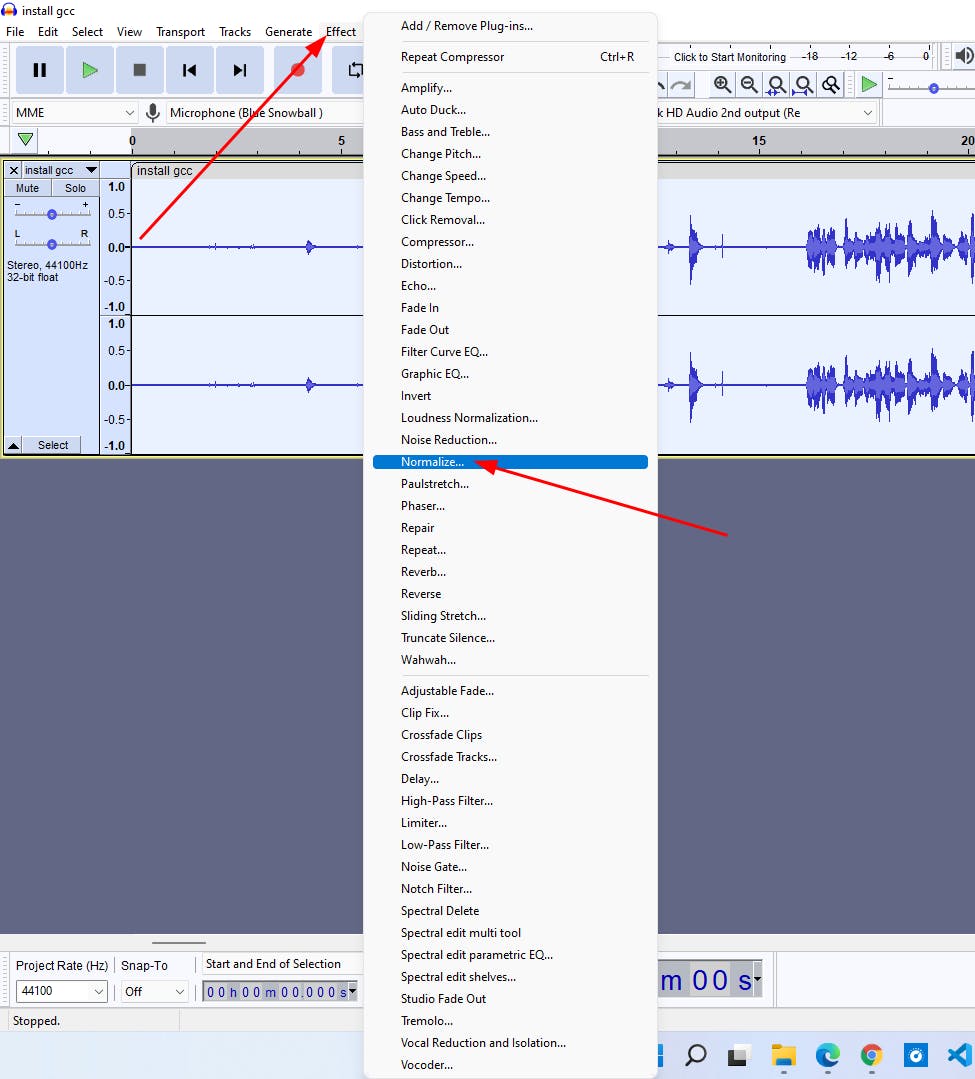
The default profile is good for us. If you want, then you can change it as you want. Before pressing OK, check the clip by clicking on Preview. Then if that satisfies you, click on OK.
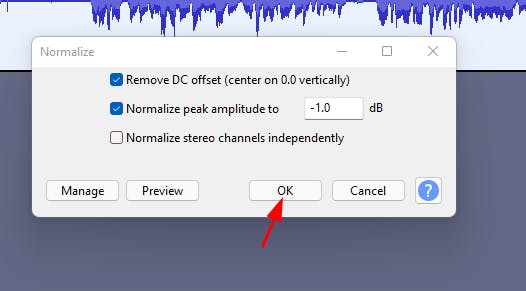
It will apply the effect throughout the entire audio clip.
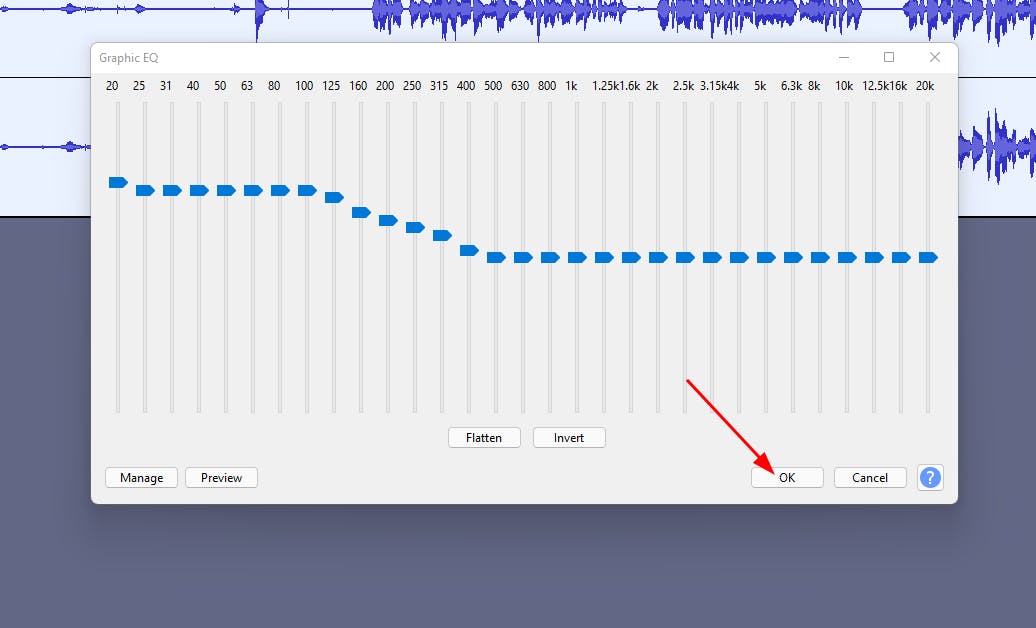
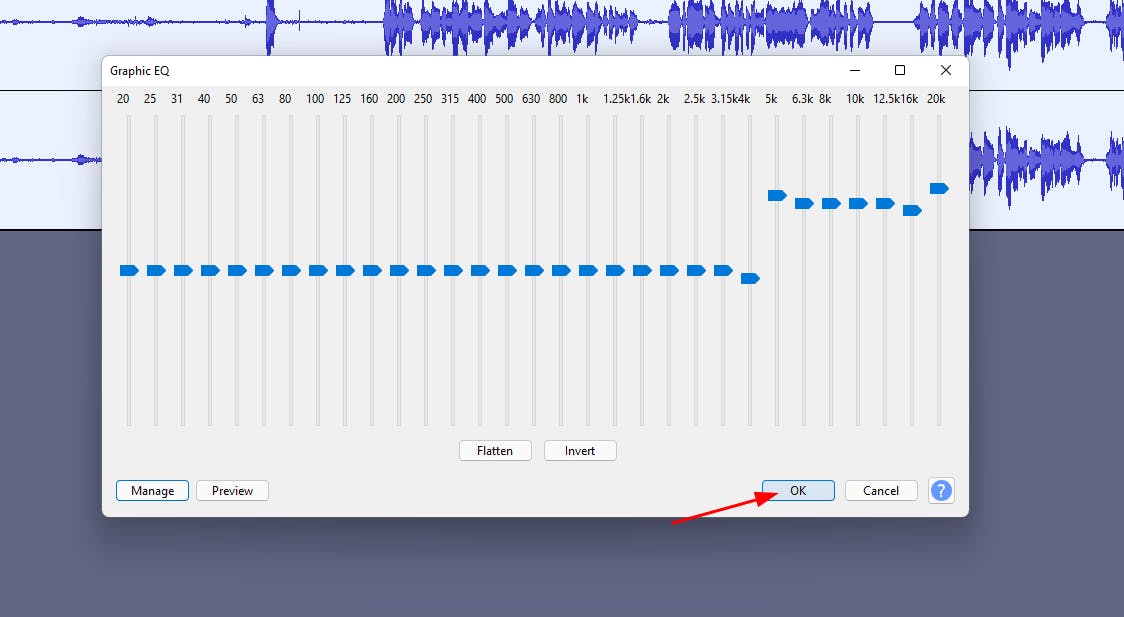
Now, we need to work on equalization. Go to Effect, then click on Graphics EQ...

Go to Manage > Factory Presets > Bass Boost.
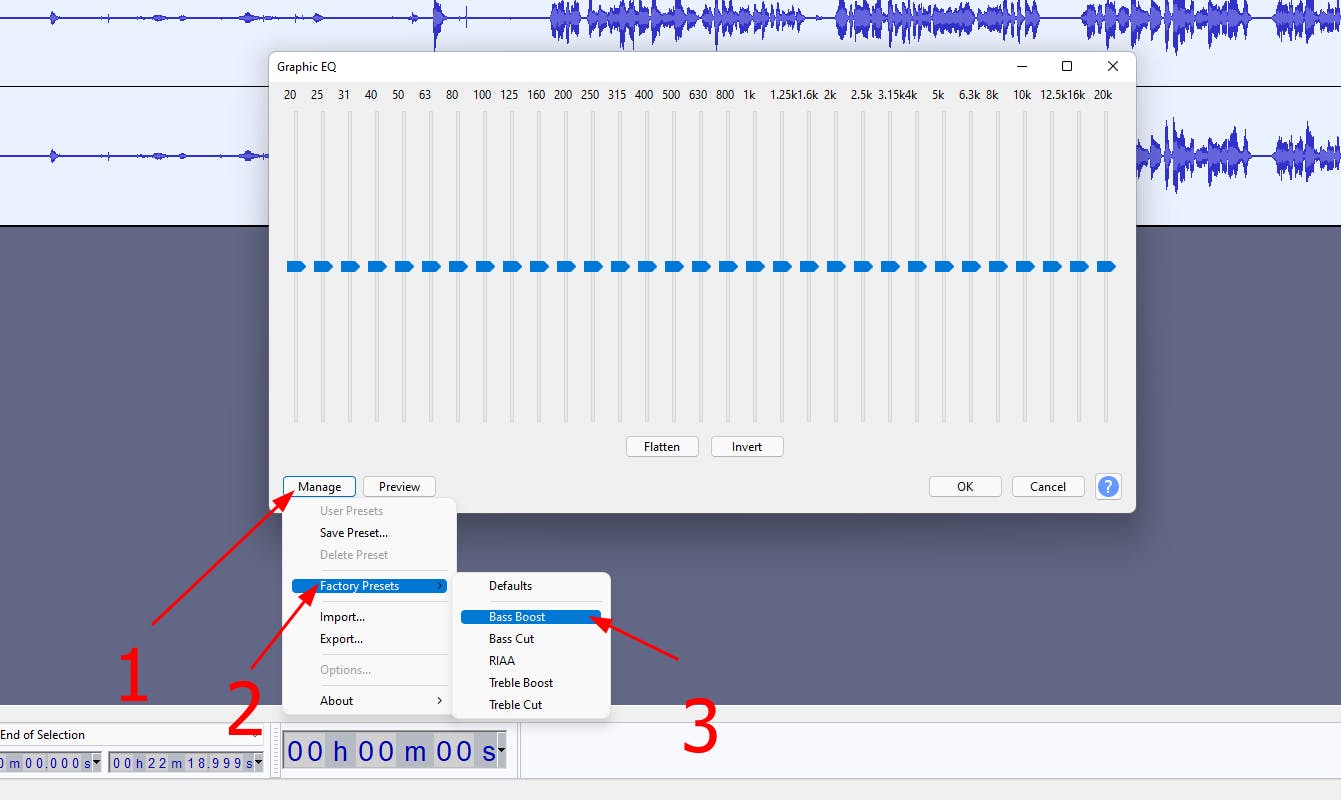
The default profile is okay for us. Click on OK.
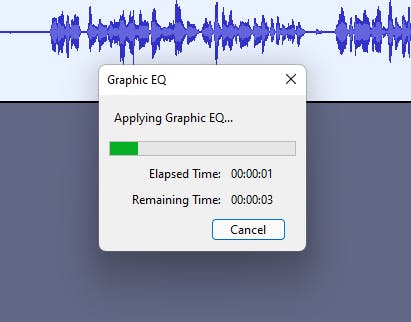
It will apply the effect.
We need to apply the treble boost now. Go to Effect, then click on Graphics EQ...
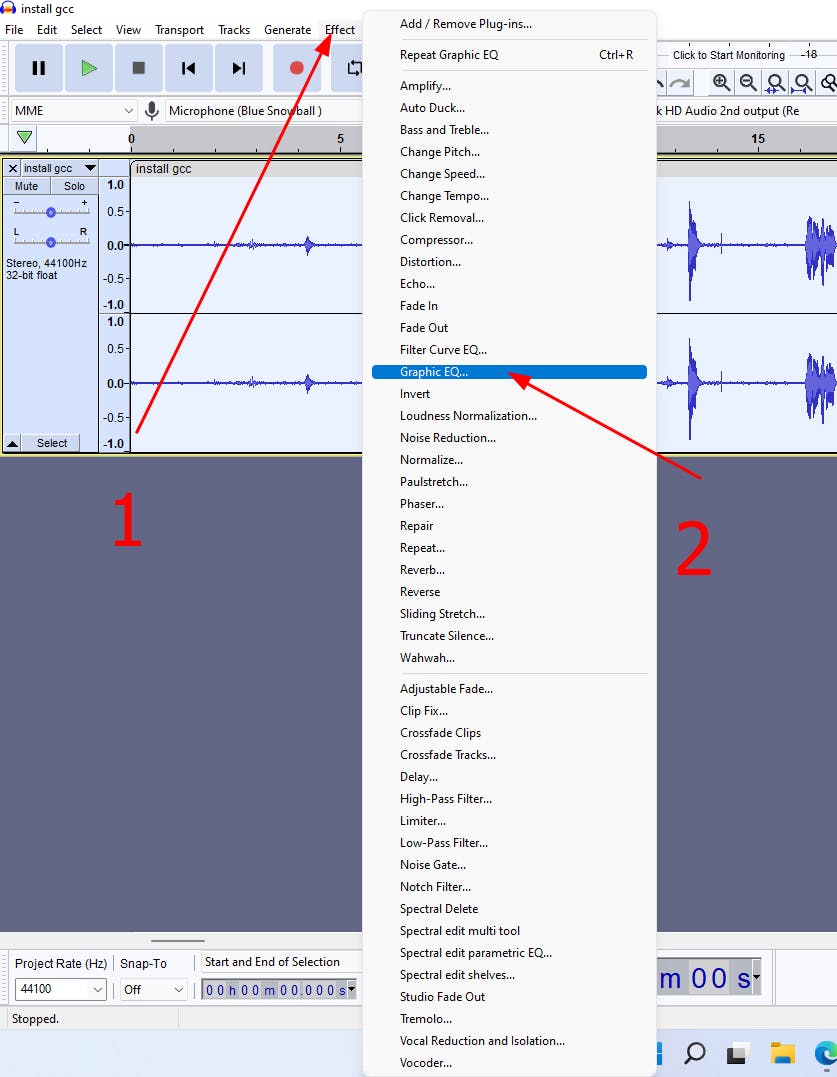
Go to Manage > Factory Presets > Treble Boost.
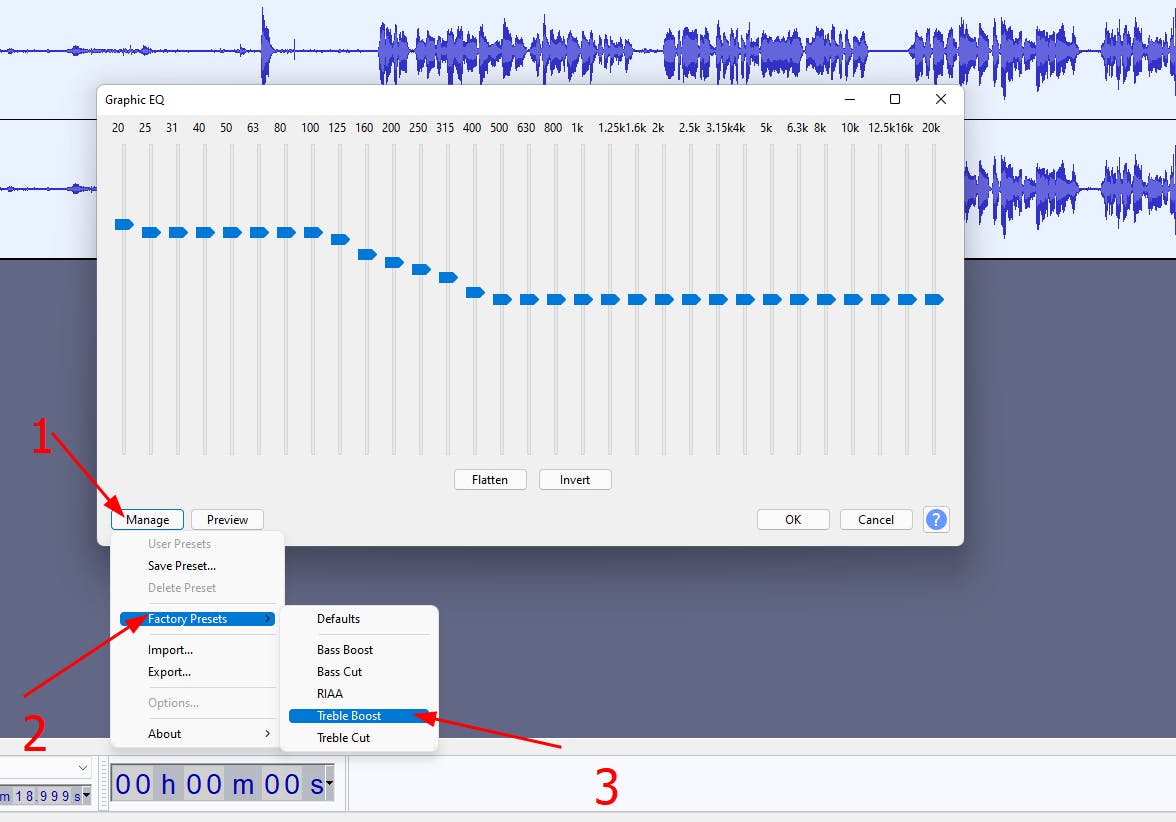
The default profile is okay for us. Click on OK.
It will apply the effect throughout the entire audio clip.
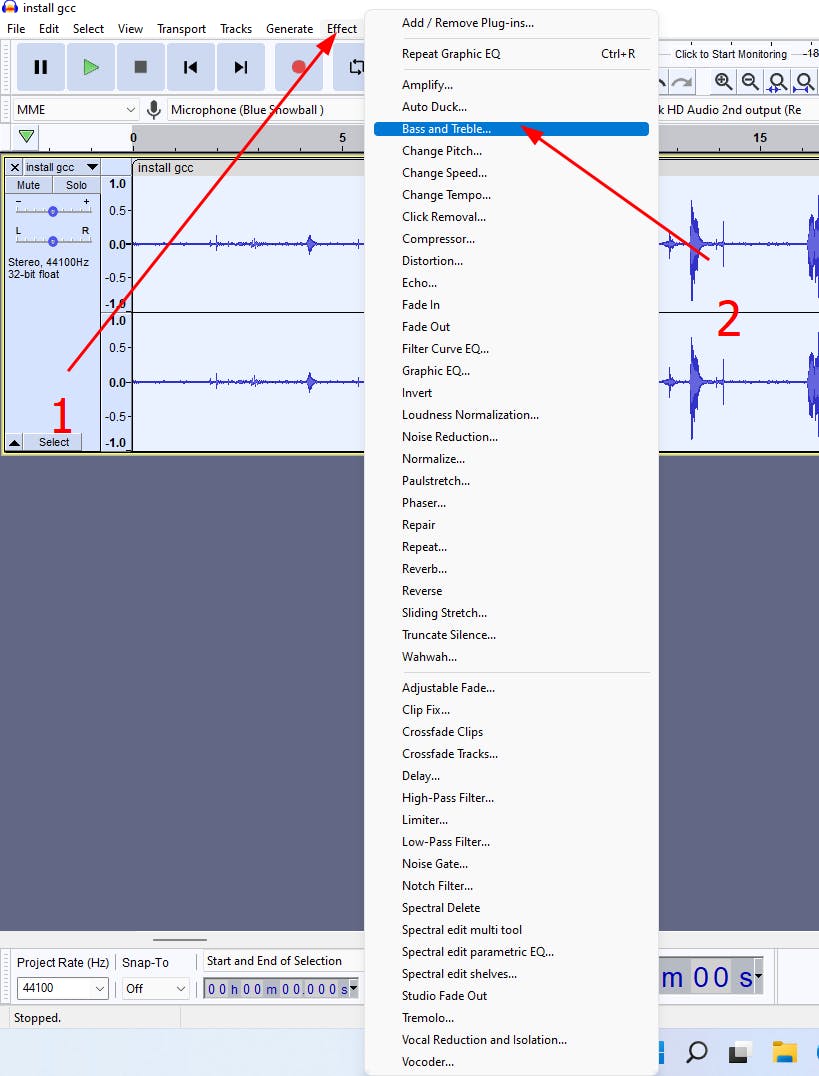
We need to apply the bass and treble now. Go to Effect, then click on Bass and Treble...
Tweak the settings as you want.
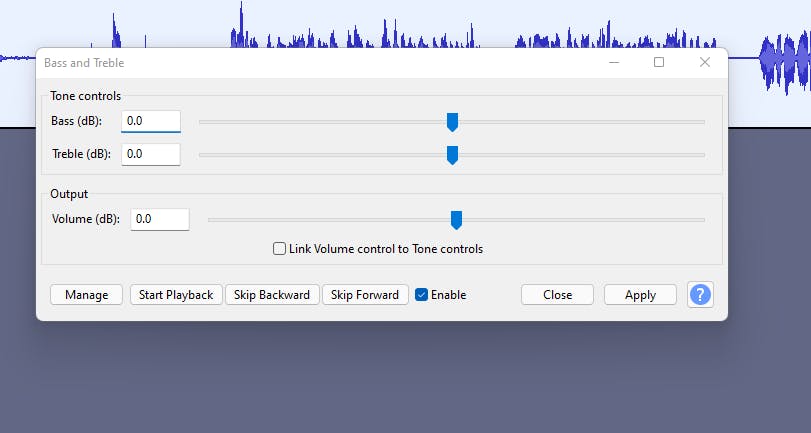
You can change the Bass (dB), Treble (dB), and Volume (dB). Normally I get decent quality for the Bass from 1.0 to 2.5, Treble from 8.5 to 10.5, and I keep the volume settings as default. After that, simply click on Apply.
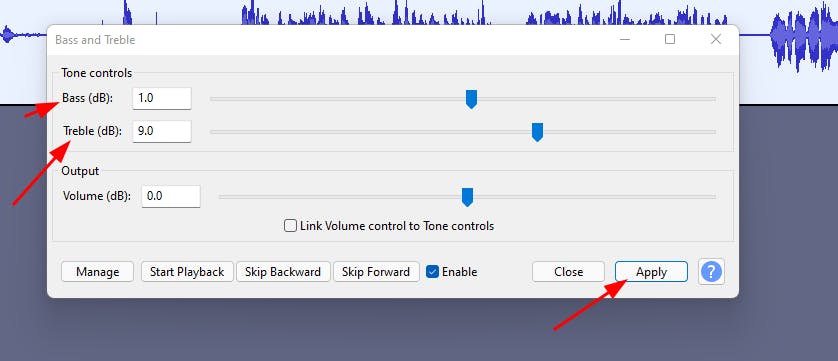
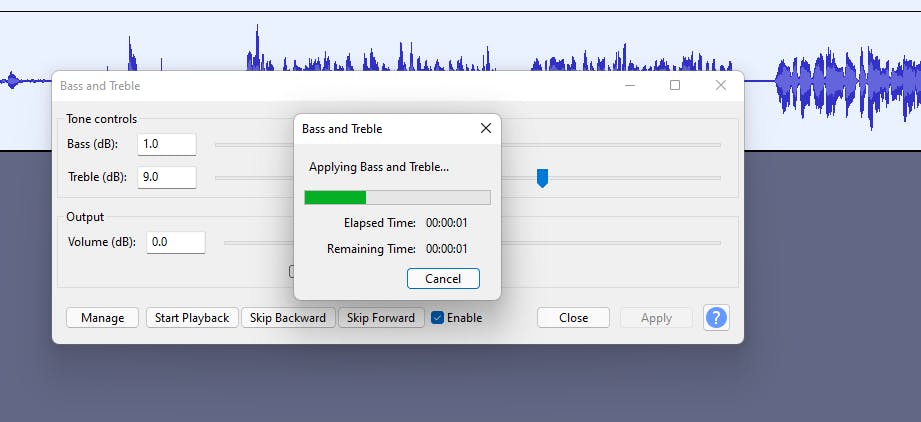
It will apply the effect.
We need a limiter. Go to Effect and click on Limiter.
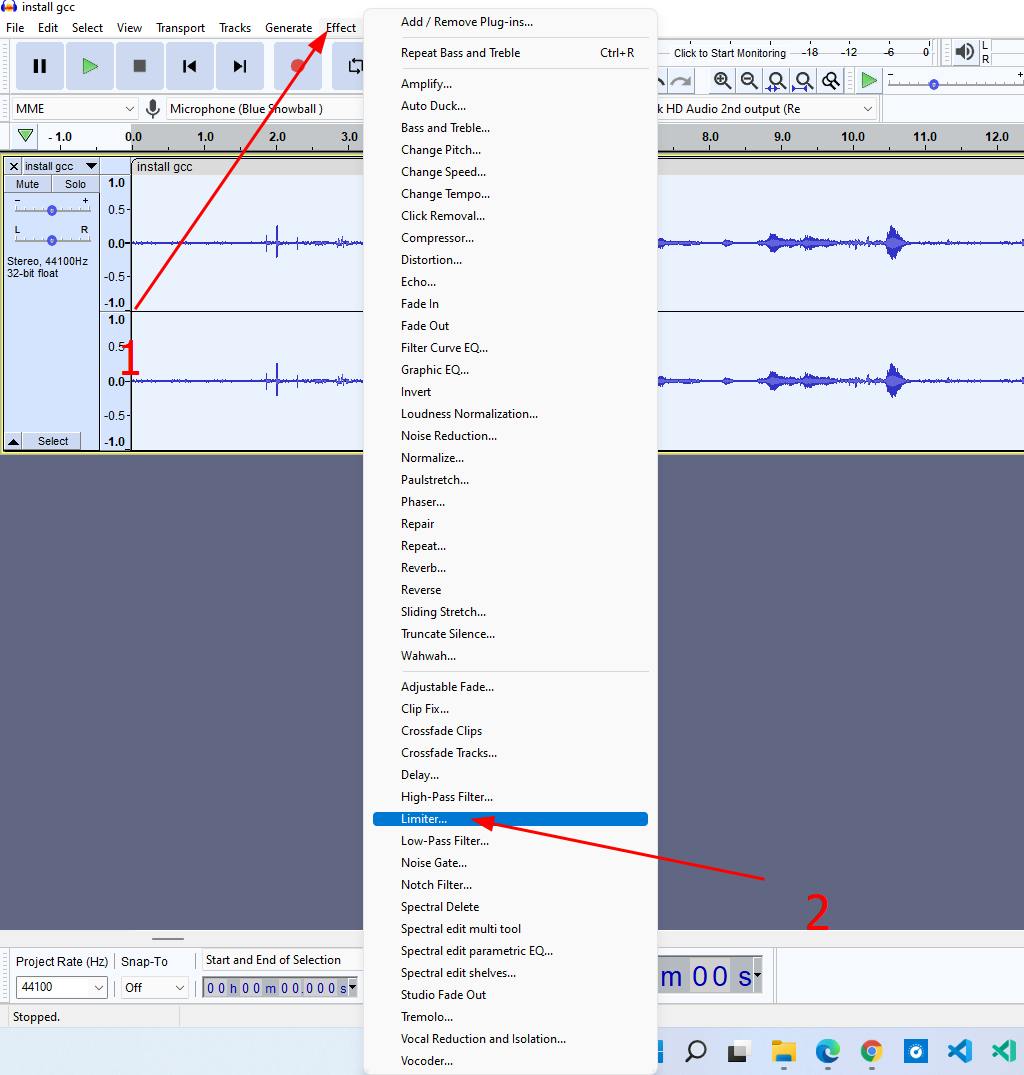
Click on the drop-down menu beside type and select Hard Limit.
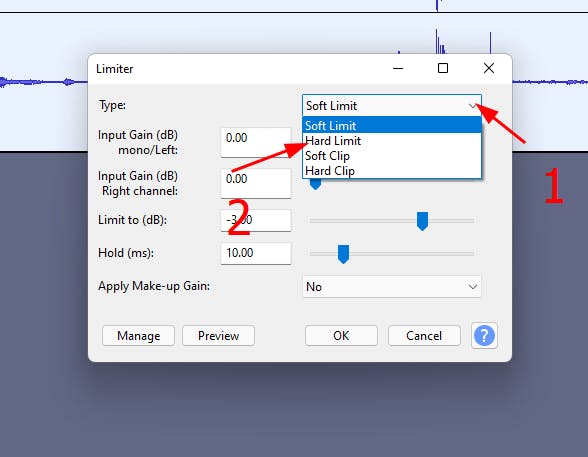
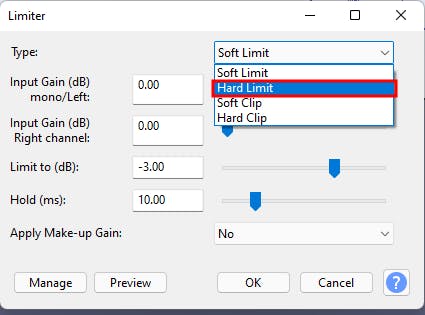
You can change the Limit to (dB) . I normally keep that from -3.00 to -4.00.

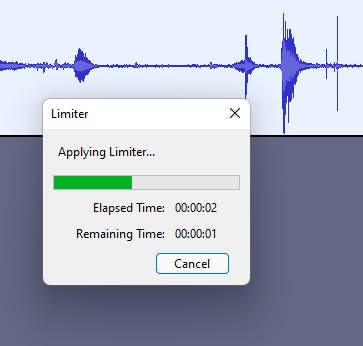
Then click on OK. It will apply the effect.
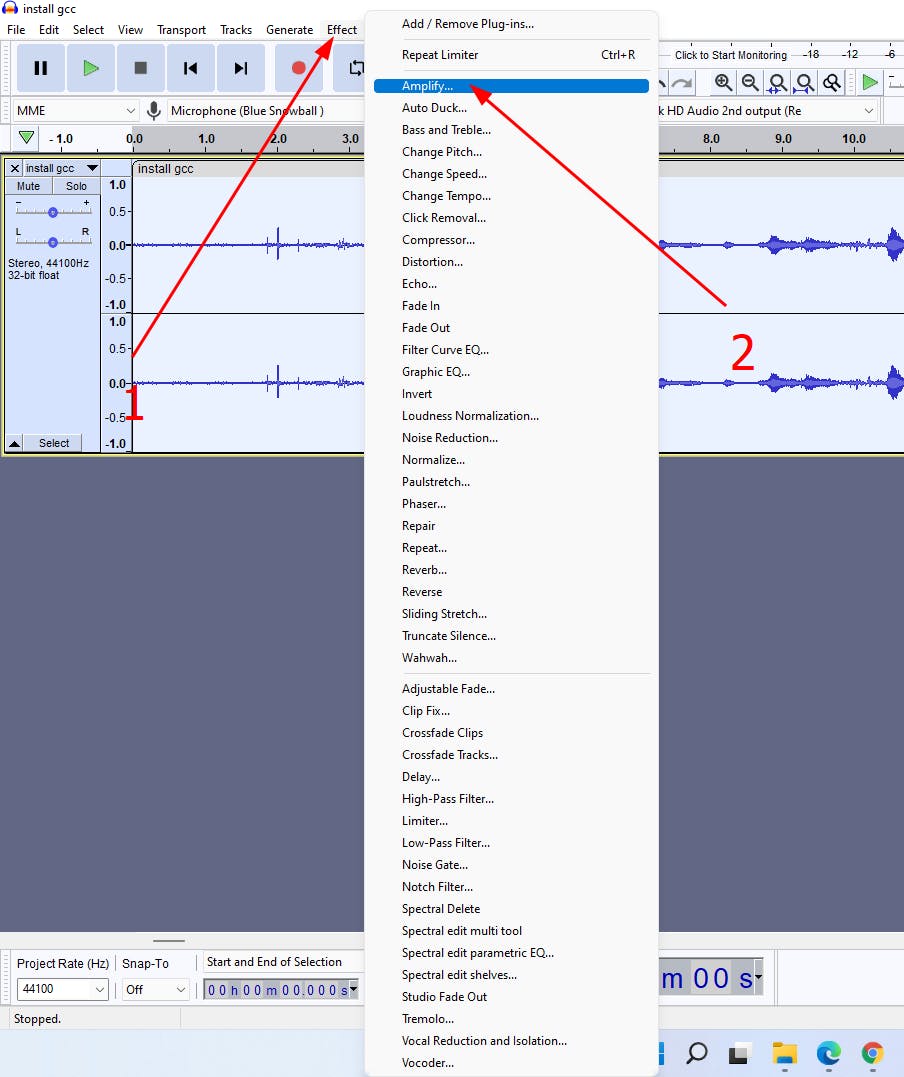
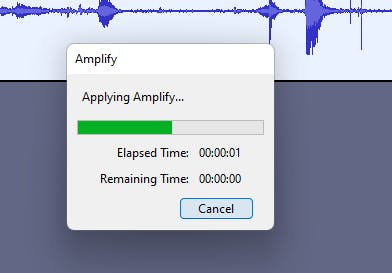
Lastly, we need to amplify the audio. For that, go to Effect and click on Amplify...
Change the slider as you want. I prefer the Amplification (dB) from 1.8 to 2.5. Check the box beside the Allow clipping . Then click on OK.
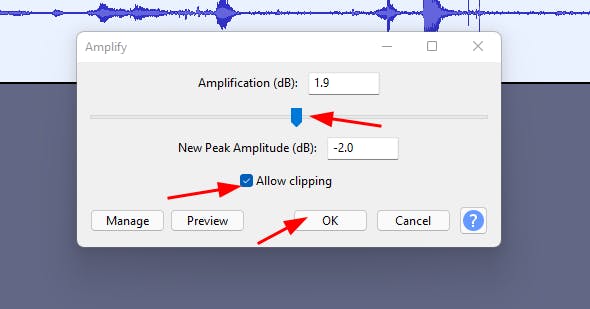
The effect will be applied throughout the entire clip.
And we're done!
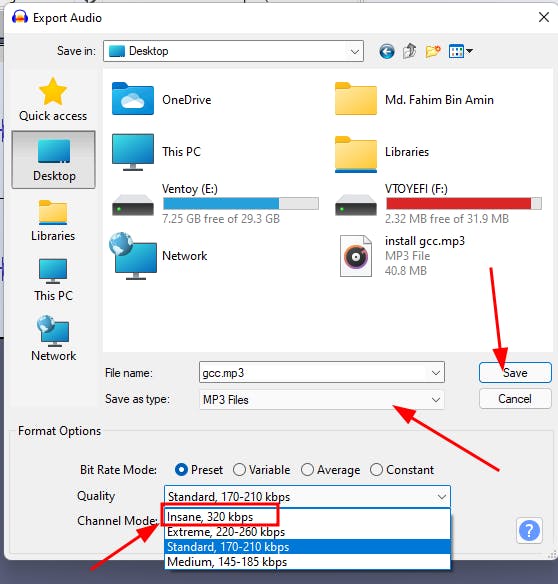
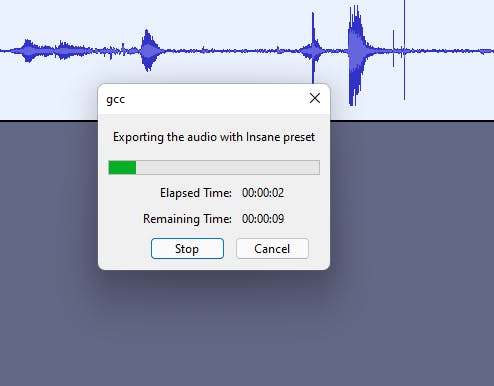
Now for exporting the audio, I prefer the quality as Insane, 320kbps.
After exporting the audio clip, our task is finished.
If you need to undo any effect, then you can use the shortcut keys, Ctrl + Z for Windows / Linux and ⌘ + Z for Mac.
Conclusion
I hope this trick helps you in your daily tasks when you need to edit any audio clip quickly to use in your project or YouTube videos. Thanks a lot for reading the entire article.
If you are interested in Open Source, you can follow me on GitHub to get updates. I'm really into open source, and I contribute regularly.
I also have two YouTube channels – I publish Bengali content regularly on one channel, and I have started publishing English content regularly on my new brand channel.
Also, If you want to have a discussion with me, or if you want to get in touch with me, then I am available on Twitter and LinkedIn also. You can also check out my website https://fahimbinamin.com/ and check my highlights on Polywork.
Thanks a bunch to everyone!